It’s always nice to have a few bad hair day tricks up your sleeve. This twisted bun has been a nice addition to my bad hair day/rushed mornings (which is 80% of mornings), along with the top knot (recently updated – those photos were hideous), side braid and voluminous ponytail.
This messy bun is a just a variation of the regular hair bun with a quick extra step at the beginning…twisting! You’ll need:
Directions:
That’s it! It takes no time and provides a slightly more interesting look than the plain ol’ bun. Hope you like!
I’ve given Andy Cohen two shoutouts — one on my honeymoon reading his amaze book (completed in less than 48 hours) and the other holding this Mazel shirt…I’m going to keep tweeting him until I hear back! Brace yourself Andy.
A quick stop at Georgetown Cupcakes downtown…where I saw a Kitchenaid mixer that belonged in my kitchen.
Birthday truffles for Karen from the always-thoughtful Jennifer Rose!
One of my favorite elements of the Saks window displays is that you can always see the reflection of Rockafeller Center in the background.
* * *
My quick visit to NY was fabulous, as NY always is, and I came home looking forward to the next opportunity I might have to go back. This two-part post however, would not be complete without sharing my Delta travel experiences…
Top 6 Reasons You Should Never Fly Delta:
1) Your luggage might get run over by a driver in an SUV who refuses to apologize (true story). You lecture him until he agrees to be more careful to not run over people’s luggage and feeling that you won, you walk away. He probably gives you the bird behind your back.
2) You might have to run through the airport to catch a flight because your initial flight was delayed an hour due to a flight attendant not showing up for work (is a small plastic cup of diet coke and a child’s handful of peanuts worth it? Not really).
3) You can’t stop sweating post-airport dash and the flight attendant on your second flight makes you check your Hartmann luggage because there’s no room in the inn….but once your sweaty self enters the plane you realize he was wrong as you stare at the perfect empty spot in the overhead bin and now your luggage is being tossed around like a 40 lb. hot potato below deck.
4) To apologize for all four of your Delta flights being delayed 40 minutes – 1 hour and 15 minutes, Delta gives you $12 dollars in meal vouchers. Said vouchers are used for three lattes…but had coffee not have been available, the vouchers would have been used to purchase anything that was available and then would have been thrown in the trash can…because making sure I spent every cent of said voucher helped me sleep at night.
5) You pay an extra $25 for priority boarding but that doesn’t matter when all of your flights are delayed and you run through the airport to get ON the plane, having to check your luggage because everyone else has already boarded. Also doesn’t matter when no one even checks the tickets to confirm which zone is boarding.
6) You have the pleasure of only being able to sit in 1/2 of your seat thanks to your aisle mate and the flight attendant’s cart rams your body each time it comes down the aisle.
What’s your favorite airline? Continental? American Airlines? Southwest? Would love any tips or recs on your favorite airlines! Thanks so much for reading – XO –
Most Outrageous: The Forever21 in Times Square is regularly open until 2AM but was open 24/7 for the last two weeks of December. INSANE (and yes, I was there from 10:30pm – 12:00am, don’t judge).
Checking out the new Sabon salts and soaps — my favorite bath & body products in NY.
Hopped off the plane to meet these fabulous city friends! Jennifer Rose, Shallon and Molly – all NYC girls living the (or I should say my) dream life. The highlight of the weekend was getting to see their pretty faces!
Watching these Salvation Army volunteers perform a dance routine while ringing the bell – I can’t even type that without smiling!! So adorable.
Watching some sketchy guys in SoHo sell fur coats out of a minivan….so fantastically strange.
L’Ecole – a favorite spot in SoHo. A restaurant catered by students studying at the The International Culinary Center.
My FAVORITE booth in Bryant Park – Studio Manhattan Vintage. They’re in the same booth space every year and Karen and I always make visiting this Florida native’s creative booth a priority. She is so beautiful and talented and her unique designs are some of my most interesting pieces of jewelry.
Part II in photos coming next week! Thanks so much for reading – XO –
Wishing you a beautiful holiday weekend filled with family, fun, good wine and good food! Sending lots of love and appreciation to each and every one of you for checking in to CBL and leaving your comments and sending your kind words.
This blog has become one of my absolute favorite hobbies and has been so rewarding and such a blessing in so many ways. Thank you for helping to make it so much fun by tuning in each day – XO –
To continue with crafting with extra wedding paper items, I wanted to make some coasters. I used a wedding program and this tutorial and got to work!
All you’ll need:
Tiles from a hardware store (I bought 12 4″ x 4″ tiles so I could use the whole program…I don’t know when I’ll need 12 coasters…but I just did it. 4-8 should be plenty for a normal person!)
Black felt for the bottom of the coasters, cut into squares
Scrapbook paper, wedding program/invitation, whatever you want displayed on your coasters
Mod Podge (I used glossy)
Foam brush
Fabric glue
Acrylic gloss sealer (making the coasters water resistant)
Measure your coasters and determine the size you want the paper and felt bottom to be and cut accordingly. Brush one coat of mod podge on the coaster and place the paper on top. Let it dry for about 15 minutes.
Once that is dry, brush a coat of mod podge on top of the paper. Allow it to dry (around 15 minutes) and repeat this step 2-3 more times.
After you have applied several coats and the mod podge has completely dried, spray the tiles with the acrylic sealer, following the instructions on the can.
Once the sealer is dry, use your fabric glue to glue the felt on the bottom of the tile.
Y’all know I’m weirdly obsessed with wreaths. I already made these book paper wreaths a while back in addition to my wine cork wreath …so I was hesitant to make yet another one, but I thought a paper rose bud wreath could be a neat way to put these pretty programs to use.
It took a lot of time watching TV with a pair of scissors glued to my cramping hand…but the end result is definitely worth it.
You’ll need:
Styrofoam Circle Base
Glue gun + LOTS of glue sticks
Scissors
Wedding Programs/Invitations/whatever you want your paper roses to be made of
Ribbon to hang your wreath with
I covered my styrofoam base with paper to help the roses stay on better.
I also covered the back of the wreath with sheets of the program so the styrofoam wouldn’t flake all over the floor.
With some wine, a few SVU & Criminal Minds marathons, two weeks of patience and a few finger burns from that stupid glue gun…ta da!
My mother and sister designed our wedding programs and used a twig of cypress from the trees surrounding my parents home on each program – isn’t that so neat?! Kudos to Karen for coming up with the idea. We made way too many (especially considering our ceremony + reception was the same venue so guests didn’t take the programs to cars like most weddings) and I knew I had to get creative – I couldn’t just let these beauties sit here until they were eventually tossed.
I also had a few extra save the dates, designed by Rock Paper Dove.
We’ve all seen these ornaments on Pinterest — and they’re just so stinkin’ cute that I had to make some for both of our moms too!
Step One: Purchase glass or plastic balls at your local craft store (or here or here if you’re in a small town) and cut the paper into thin strips — about 1/3 an inch.
Step Two: Roll the strip around your finger – giving it some shape so it creates a prettier visual in the ornament. Drop it in the ornament ball.
That’s it! Easy peezy. I used the ribbon that secured the cypress twig to the program to tie around the top of the ornament and secure a sparkly snowflake, also purchased at the craft store.
I’m still working on the part two…stay tuned! Thanks for reading – XO –
Honeymooning is what makes all of the wedding preparation stress worth it. Hands down the best week of my life, spent with the husband (!!!) at the Rosewood Mayakoba. We were already talking about when we could come back before we hadn’t even left!
Here are some photos from the week, and any engaged gals out there – I can’t recommend this spot enough if you’re considering Mexico.
Our ferry ride to our villa…with our butler, Ana, waiting for us. I think my cheerfulness and excitement took her by surprise…but I mean… clearly I was excited!
I was so touched and surprised when Christian surprised me with an extra sparkly band in the car when we left the reception. Love love love.
There you have it — the best seven days of my life and a trip that I will cherish for years. No worries – I only took 800+ photos and videos so I don’t think I’ll forget a minute. I’m that lady – she crazy.
Already saving for an anniversary trip…in my dreams! Thank you so much for reading – XO –
Hello again!! Thank you for all of the warm wishes and for being patient with me while I took a little time off from CBL.
I wanted to share some photos that I only have thanks to my best friend and bridesmaid, Kady Truesdale. She was so incredibly thoughtful and generous to snap hundreds of photos for me, capturing every moment of the entire weekend. I will never be able to express how grateful I am for both Kady and her new Nikon! I am already counting down the days to her April 6th wedding when I can play paparazzi!!
More photos to come once I get some images back from our photographer – the talented Will Jacks. He did kindly share an image the Monday after our wedding — such a treat to preview with Christian on our honeymoon!
HONEYMOON pics to come next week!
Wedding hair & makeup by the fabulous Syd Curry and Anna Hester.
Friday, November 9th…
Saturday, November 10th…
A gorgeous day — such a blessing!
Honeymoon preview…
HAPPY THANKSGIVING and go eat some turkey, y’all! Thanks so much for reading – XO –
I love to celebrate special occasions with some champs, but I never want more than a glass or two and usually end up eventually pouring half the bottle down the drain.
While flipping through a magazine a while back, I noticed the idea of using that extra champagne to make ice cubes – genius!! You can even pop a cube or two in a glass of white wine, lemonade, the possibilities are endless.
So with half a bottle left, what to do?
Drink it straight up:
Mimosas, anyone?
Or just make more ice cubes because they are perfection.
This could be dangerous.
Pink lemonade with three rosé ice cubes… I like it. Thanks so much for reading! XO –
Such a fun weekend with some of my favorite people!I knew that it wouldn’t matter where we went or what we did — I just wanted to spend time with these girls who came from all over the country to spend the weekend together. I loved catching up with everyone and seeing all their wonderful faces.
We had a slight shift in plans as we found out two bridesmaids, including the host of the weekend and one of my closest childhood friends and Dallasonian, were unable to be there, so we tried to navigate an unfamiliar city as best as we could. I hated that they couldn’t be there and we missed them both!!
I must confess it was slightly stressful but my sister and MOH, Sarah Thorne, AMAZED me by running countless errands in a city she didn’t know, buying decorations and food and doing everything in her power to help make this weekend special and memorable. I am so appreciative and thankful for her. It makes me realize what a terrible maid of honor and 18-year-old sister I was when she got married seven years ago!! I wish I could go back in time and be as helpful and wonderful to her as she has been to me.
I am so thankful and appreciative for all of these girls and the lengths they took to be a part of this weekend to celebrate being only a few short weeks away from beginning a new chapter in my life. I cannot wait to celebrate this time in their lives with them in the future. Lots and lots and LOTS of love to each of you! Thanks so much for reading – XO –
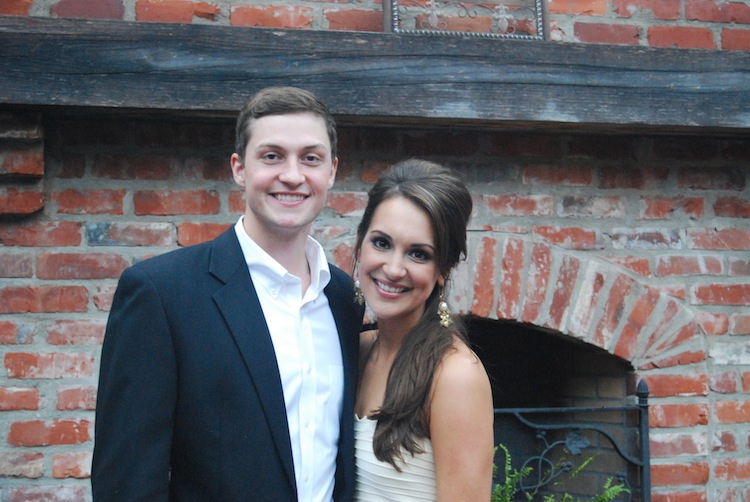
Robert Aiken, Anna Wise, Charles Blount, Katie McCabe, Corey Allen, Cassie Gregory, Jeremy Martin & Jonathan Dillard
Another fun night to celebrate our engagement with family and friends and this time, in Christian’s hometown of Madison (outside of Jackson). Such generous and thoughtful friends to host such a fabulous evening with some of the tastiest treats – check out the adorable s’mores bites. No worries – my brother-in-law managed to snag the recipe from one of the hostesses who actually found it on pinterest!! Check out the recipe here.
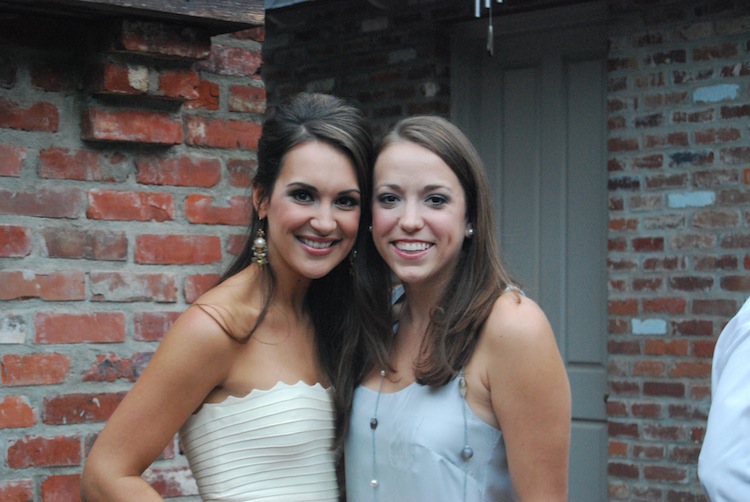
Lots of thanks to my fabulous sister and future sister-in-law who are so amazingly helpful and supportive and bring their fancy cameras to snap all these photos so I can remember these special evenings!
Some iPhone snaps –
And if you’re thinking, “her makeup looks a little more glam and her hair looks like it took a trip with Bridget Bardot to Texas,” that’s because I had a little trial run for wedding hair & makeup with the fabulous Anna Hester and Syd Curry.
I’m thinking a half-up, half-down effortless looking hairdo and while I love this fun voluminous look (and it looks like the photo I showed and asked for), I’m not sure it’s going to making a repeat appearance in November as I think it looked better on Odette Annable than it did on me. I still can’t seem to find a photo of the exact look I’m going for so I can show Syd…do y’all have any suggestions? Any former brides out there that want to give some hair advice??
The only thing I need that I can’t seem to find are these little guys shown in the window display at Kleinfields in Manhattan.